Are you fed up with the mess left behind after a renovation? Thoroughly cleaning the floors is key to making your newly revamped space look top-notch.
Let us walk you through the pre-cleaning setup, getting rid of dust and debris, using deep cleaning methods, and those final touches to make those floors gleaming.
We’ll even throw in some tips on keeping those floors spick and span after the renovation. Get the lowdown on how to give your floors a proper scrub and bask in the glory of your newly renovated space.
Cleaning Your Floors After a Renovation
After any home renovation, you need to thoroughly clean your floors to get rid of all that dust, debris, and residue hanging around. This will bring your living space back to its sparkling best and stop any potential long-term damage or wear.
Why it’s Important to Clean Properly
Proper cleaning after a renovation is crucial for more than just looks—it’s also about your health, especially if you want to avoid triggering allergies or asthma.
After a renovation, all that dust and debris hanging around can trap allergens and irritants. When these get stirred up and float in the air, they can spell trouble for your respiratory system, especially if you already have allergies or asthma. The key is to give all your surfaces a good scrub, banish those pesky dust particles, and improve the air quality inside your home. Doing this can help lower the chances of breathing issues and other health problems.
Remember to wear protective gear—masks and gloves are your best friends here. They’ll shield you from inhaling nasty particles, keeping you safe and ensuring your cleaning efforts are effective and trouble-free.
Pre-Cleaning Preparation
Before you begin cleaning, ensure you are ready. Ensure proper ventilation, gather all the supplies you need, and wear protective gear like gloves, eye protection, and a respirator.
Gathering Supplies and Protecting Surfaces
When you’re getting ready to clean, ensure you have all the right supplies. You’ll need your trusty broom, a soft microfibre cloth, a squeegee for those streak-free windows, an excellent ol’ bucket, some water, detergent, vinegar, and bicarbonate of soda.
These cleaning essentials each have their particular jobs:
- Grab the broom to sweep up debris.
- Use the microfibre cloth to dust and polish your surfaces.
- Break out the squeegee for sparkling clean windows.
- Pop the detergent and water in the bucket for your all-purpose cleaning mix.
- Dilute your cleaning solutions with water.
- Break out the vinegar for its disinfecting powers.
- And don’t forget the bicarbonate of soda for tackling those stubborn stains.
It’s also important to protect your surfaces while you clean to avoid damage. Try using furniture pads under heavy pieces, coasters for your drinks, and rugs in those high-traffic spots. And if you’re feeling adventurous, try steam cleaning for a deep floor clean or let a robot vacuum handle your daily maintenance.
Removing Dust and Debris
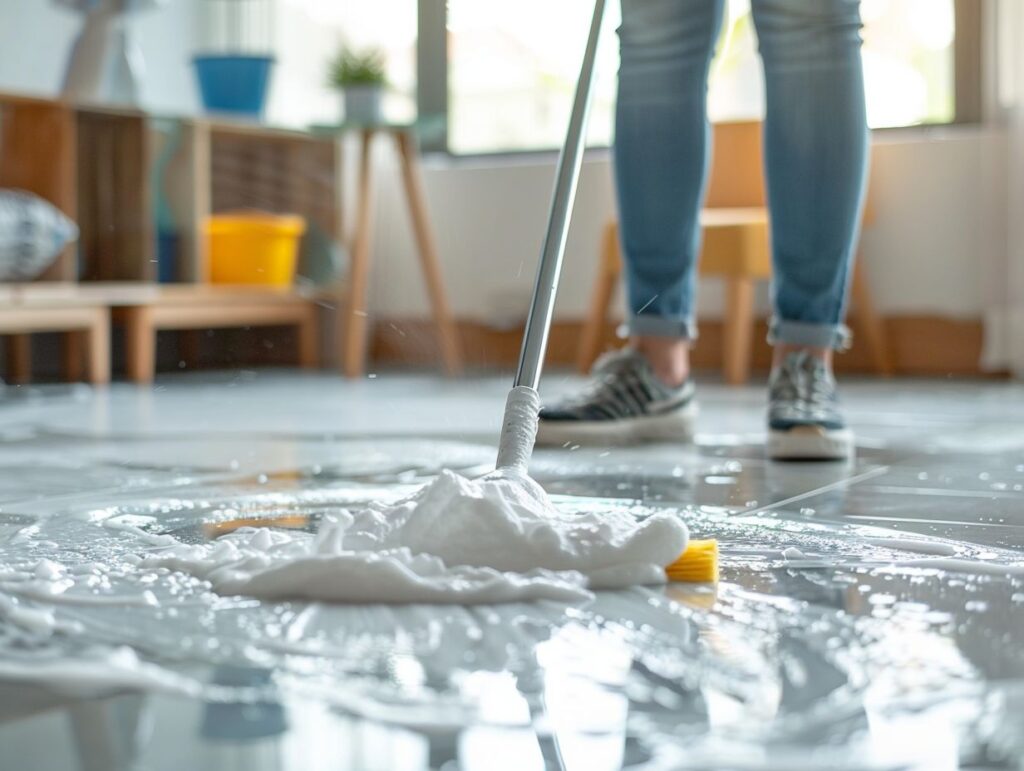
In the post-renovation cleaning process, you must remove the dust and debris on your floors. This means you should sweep, mop, and hoover to make sure you don’t leave any particles behind.
Vacuuming and Sweeping Techniques
In terms of getting your floors squeaky clean, you’ve got to nail those vacuuming and sweeping techniques to remove all those pesky loose particles and get your floors ready for a deeper clean. Depending on the type of floor you’re dealing with, you need to cater your approach to meet its unique needs. Here’s the lowdown:
- If you’re tackling carpets, grab a vacuum with a beater brush to shake up the fibres and release embedded dirt. Remember to go over each area more than once for a thorough cleaning.
- For hardwood or tile floors, use a vacuum with a tricky floor setting or a gentle-bristled broom to avoid scratching.
- When it’s time for hardwood floors, consider using microfibre cloths or mops to trap dust and prevent it from spreading.
Deep Cleaning Your Floors
When tackling your floors, ensure you’re not just skimming the surface. Get deep to banish those stubborn stains, grime, and residues. That way, your floors won’t just be clean; they’ll look fresh, well-cared for, and rejuvenated.
Choosing the Right Cleaning Products
When cleaning, you want to make sure you’re using the right products to get rid of stains and grime without damaging your floors.
- If you’re dealing with grease and grime in the kitchen, detergents are your best bet for cutting through the mess on counters and appliances.
- For a natural disinfectant, vinegar is your go-to for tackling mould and mildew in the bathroom.
- Baking soda is your friend for deodorising carpets and eliminating odours.
- And if you want a chemical-free deep clean, steam cleaners are your answer for sanitising different surfaces.
Remember to read the product labels, follow the instructions, and test a small hidden spot before using any cleaning solution to ensure it works with your floors.
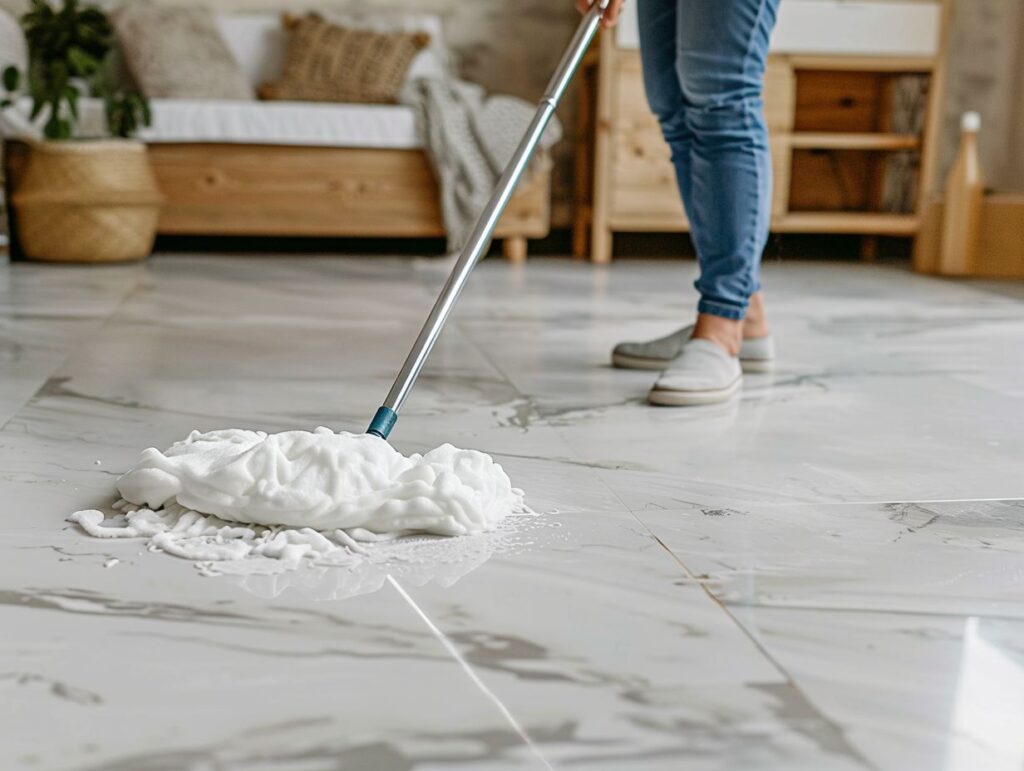
Specific Techniques for Different Flooring Types
Regarding different flooring types like hardwood, tile, laminate, and vinyl, you need to use specific cleaning techniques to keep them looking their best without causing any damage. If you have hardwood floors, clean them with a pH-neutral cleaner and a damp mop to keep them shining. Just a heads up, don’t go overboard with water on hardwoods, as too much can make them warp. If you’re dealing with tile floors, a mix of warm water and vinegar does wonders to get rid of dirt and grime. For laminate floors, grab a microfibre mop and a mild detergent – steer clear of any rough tools that could scratch the surface. And if you’ve got vinyl floors, stick to regular sweeping and mopping with a gentle cleaner to prevent discolouration and keep that shiny look intact.
Finishing Touches
After you’ve scrubbed your floors well, it’s time to add the final touches, such as polish, wax, or sealant, to keep them looking fabulous and protect their shine. This will quickly restore their original beauty.
Polishing and Protecting Your Floors
To keep your floors looking their best, you must use products like polish, wax, and sealant to keep them shiny and protected.
After you’ve cleaned and prepped your floor, it’s time to apply your chosen polish. Grab a mop or applicator, and cover the floor evenly. This step will bring back the shine and smoothness of your floor, eliminating any minor scratches or imperfections. Once the polish has dried, it’s time to add a protective layer of wax or sealant. This layer will protect your floor from stains, spills, and everyday wear and tear. These final touches act as a barrier against dirt and moisture, making cleaning easier and extending the life of your floors.
Maintaining Clean Floors
Keeping your floors clean after a renovation is an ongoing task that requires time, patience, and the right techniques to ensure they stay in tip-top condition.
Tips for Keeping Your Floors Clean After Renovation
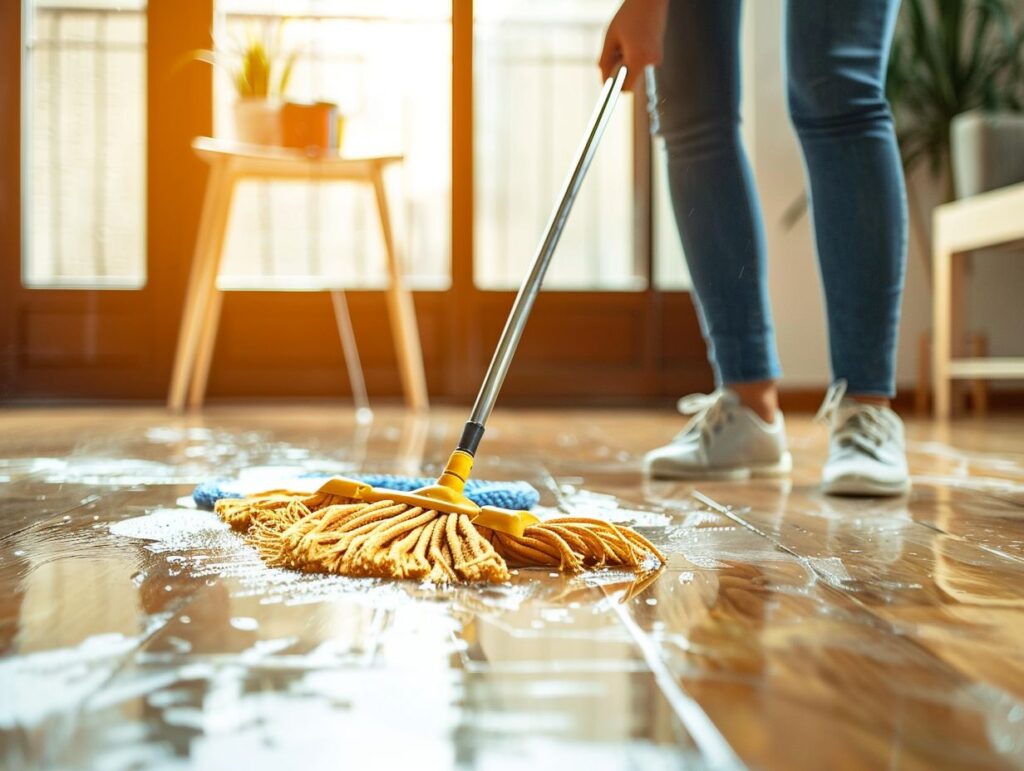
To keep your floors clean after a renovation, follow these maintenance tips and techniques using the right cleaning solutions and tools. For daily upkeep, sweep or vacuum regularly to prevent dirt and debris from piling up.
If you have hardwood or laminate floors, consider using a damp mop with a mild detergent for a thorough clean. When it’s time for a deeper clean each week, go for specialised floor cleaners that match your specific floor material. Steer clear of harsh chemicals that could harm the finish.
Invest in a good-quality microfibre mop for efficient and gentle cleaning, and remember to switch out the mop heads often to avoid spreading dirt. These simple practices will keep your floors sparkling and help them stay in top shape for the long haul.